
Garden and Planting Services in Central Illinois
Garden and Planting Design
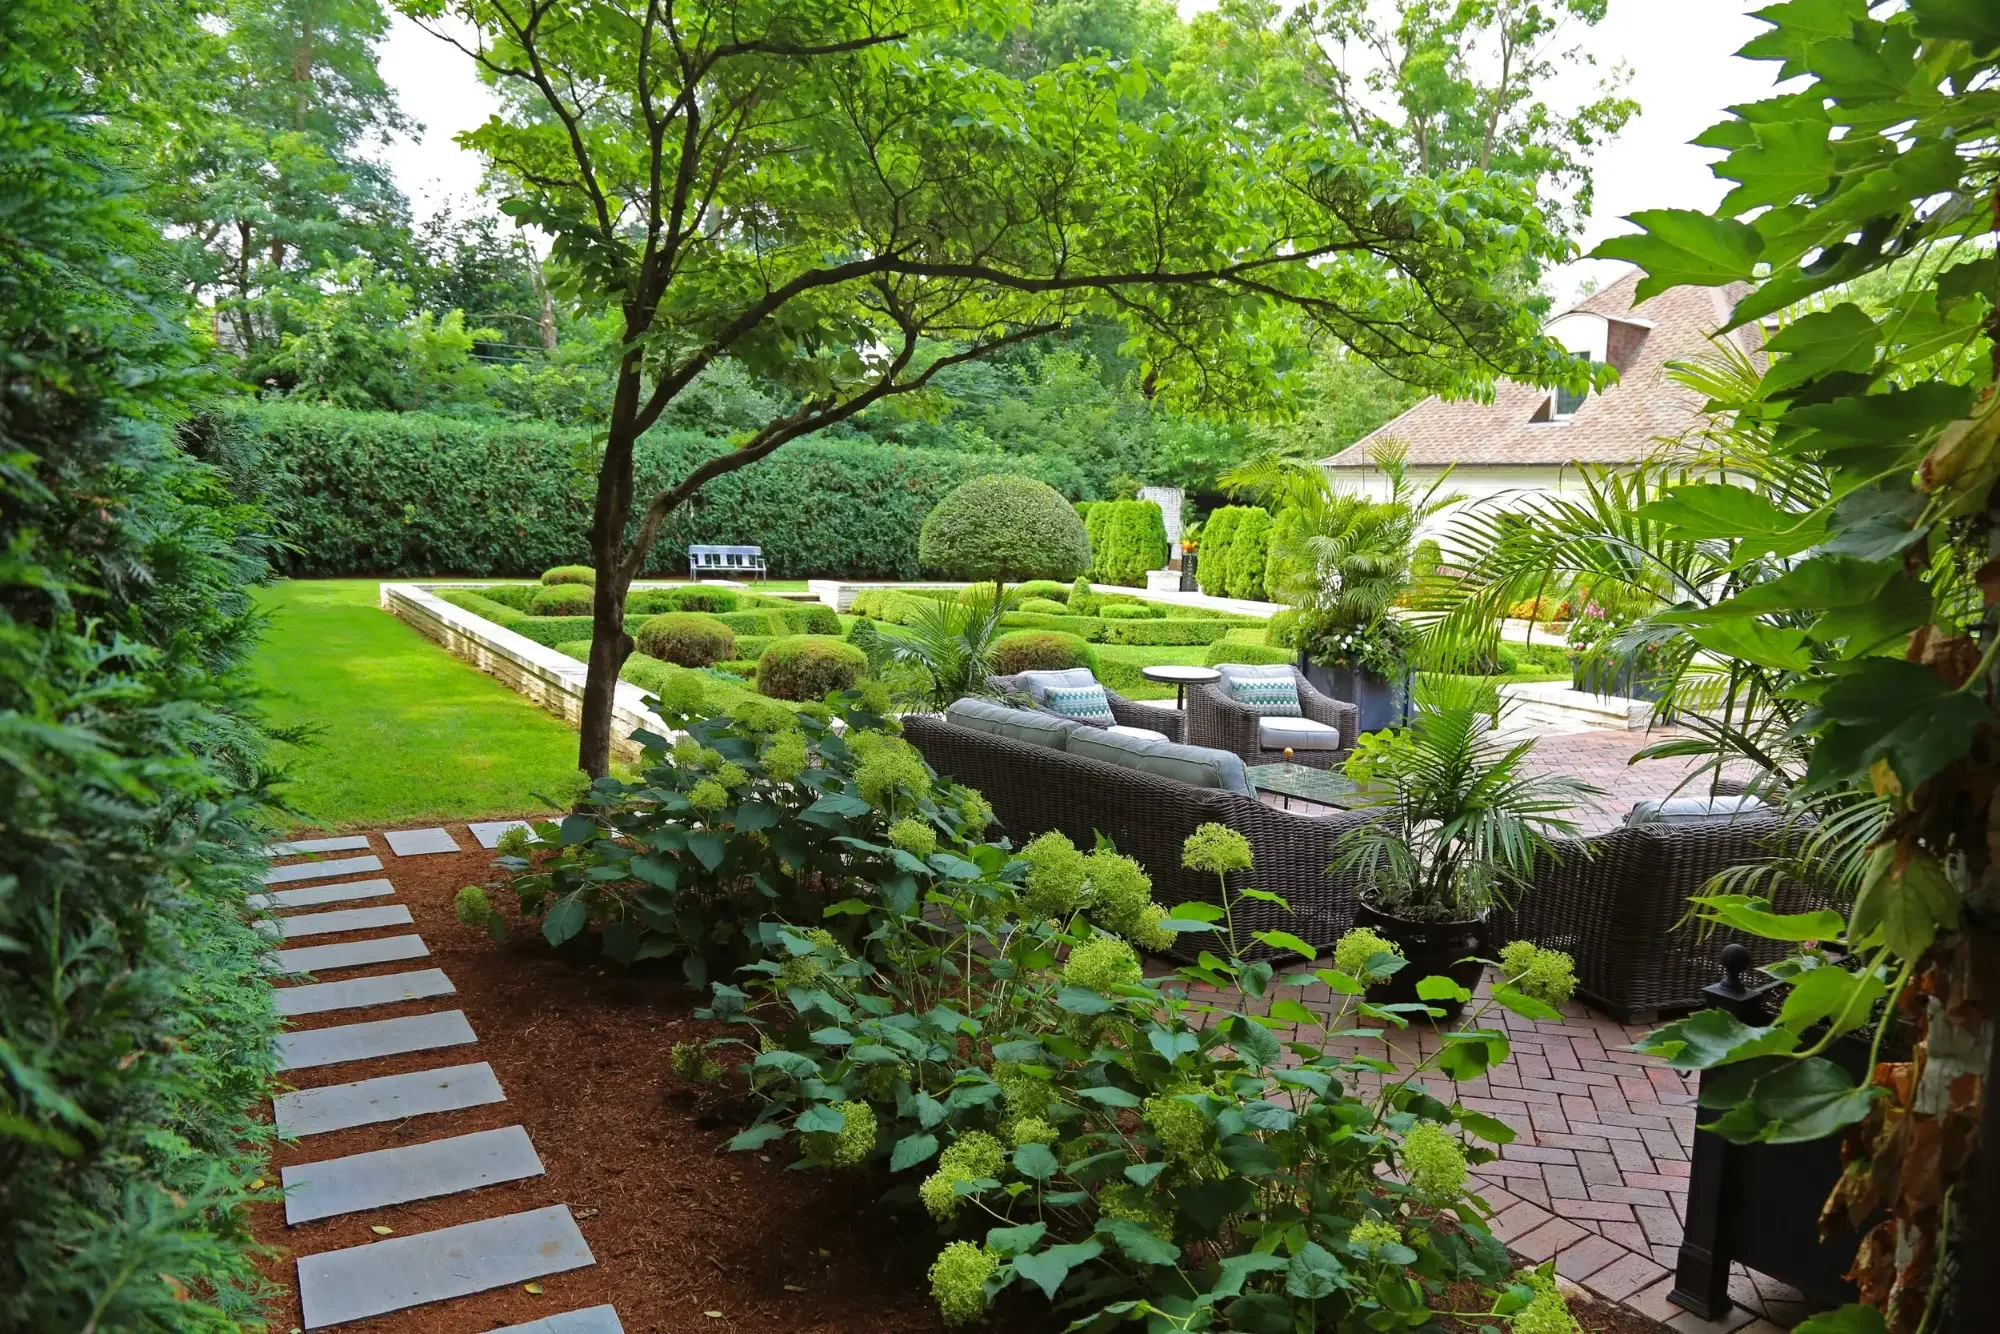
Plants are what make a landscape feel alive. Hardscape provides the structure, patios, walls, paths, and edges, but planting is what brings a landscape to life through the seasons, softens the edges of stone and structure, and creates the kind of layered, evolving environment that a property built entirely of hard surfaces can never achieve. Great planting design is the difference between a landscape that looks finished on installation day and one that improves every year.
Green View designs and installs gardens and planting for central Illinois properties using plant material selected specifically for this region, varieties that thrive in central Illinois soils, survive our winters, perform through the heat of an Illinois summer, and provide multi-season interest year after year.
Garden and Planting Options
Garden and Planting Design
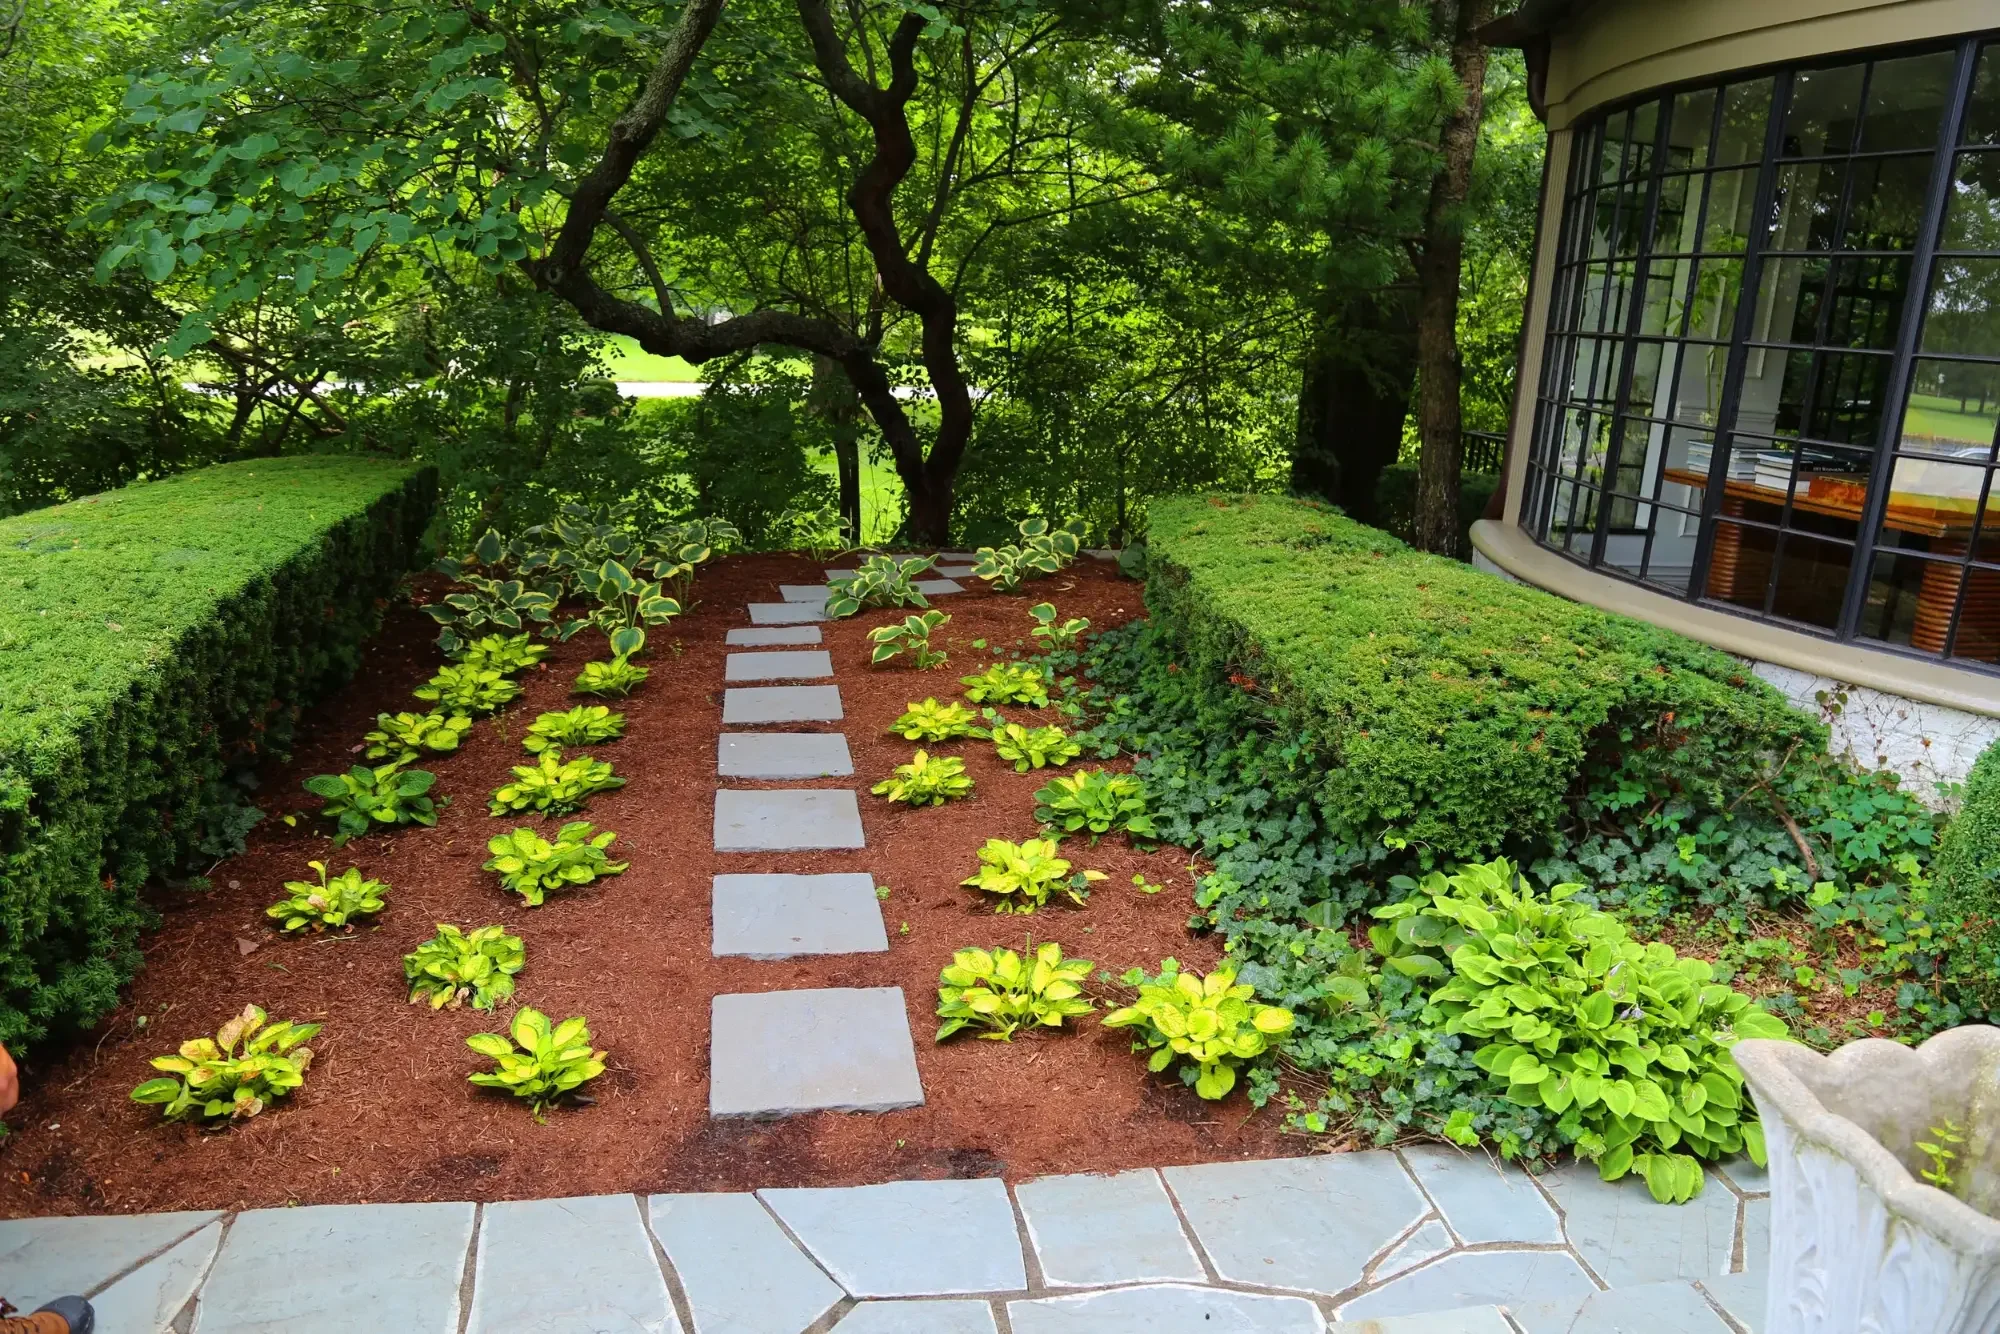
Custom planting plans developed for your specific property, soil conditions, sun exposure, and aesthetic goals, every plant selected for performance in central Illinois conditions.
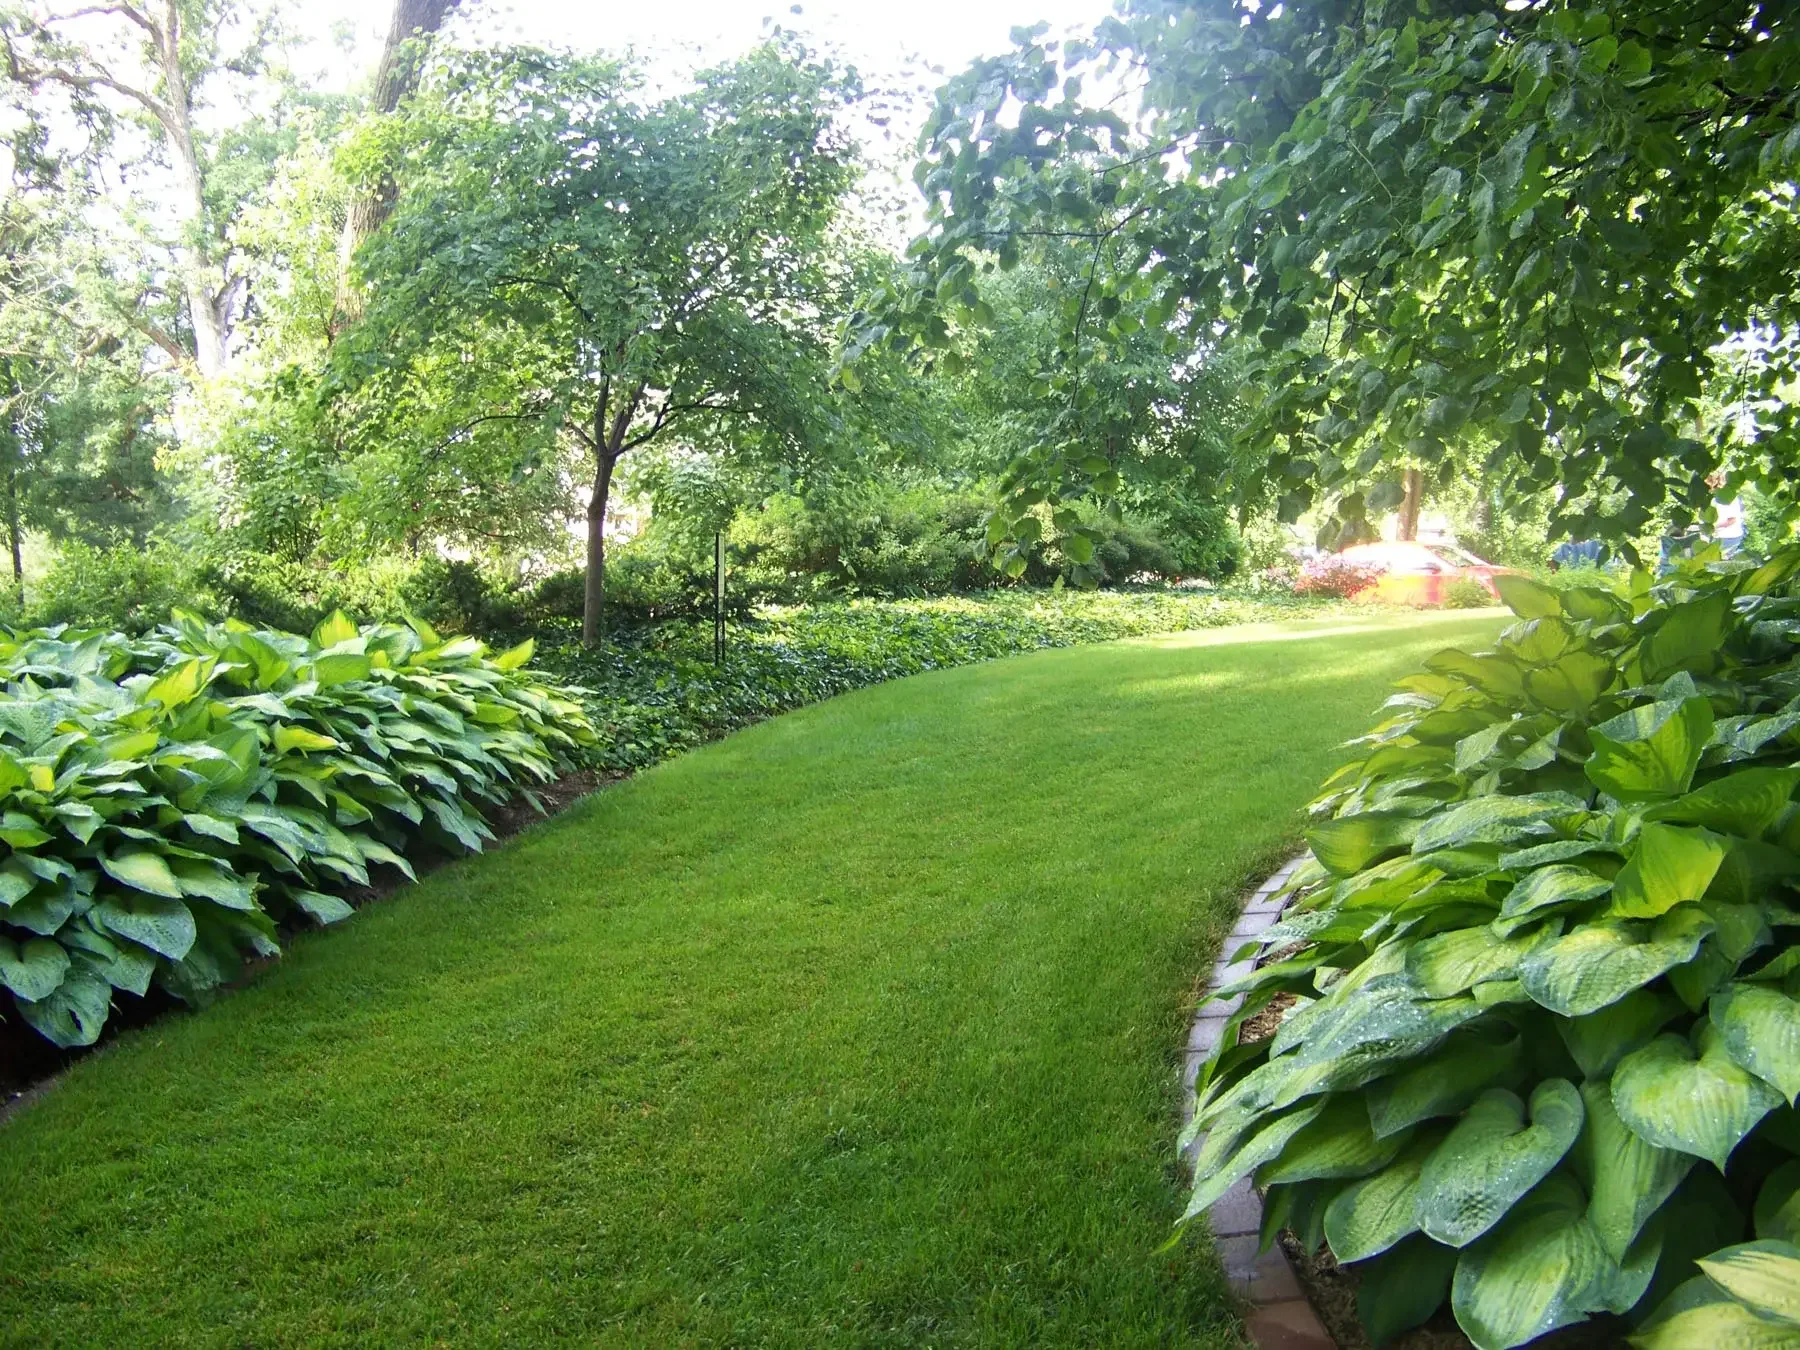
Garden Bed Installation
Professional installation of planting beds, soil preparation, edging, mulching, and planting to the standard the design calls for, built for central Illinois soils.
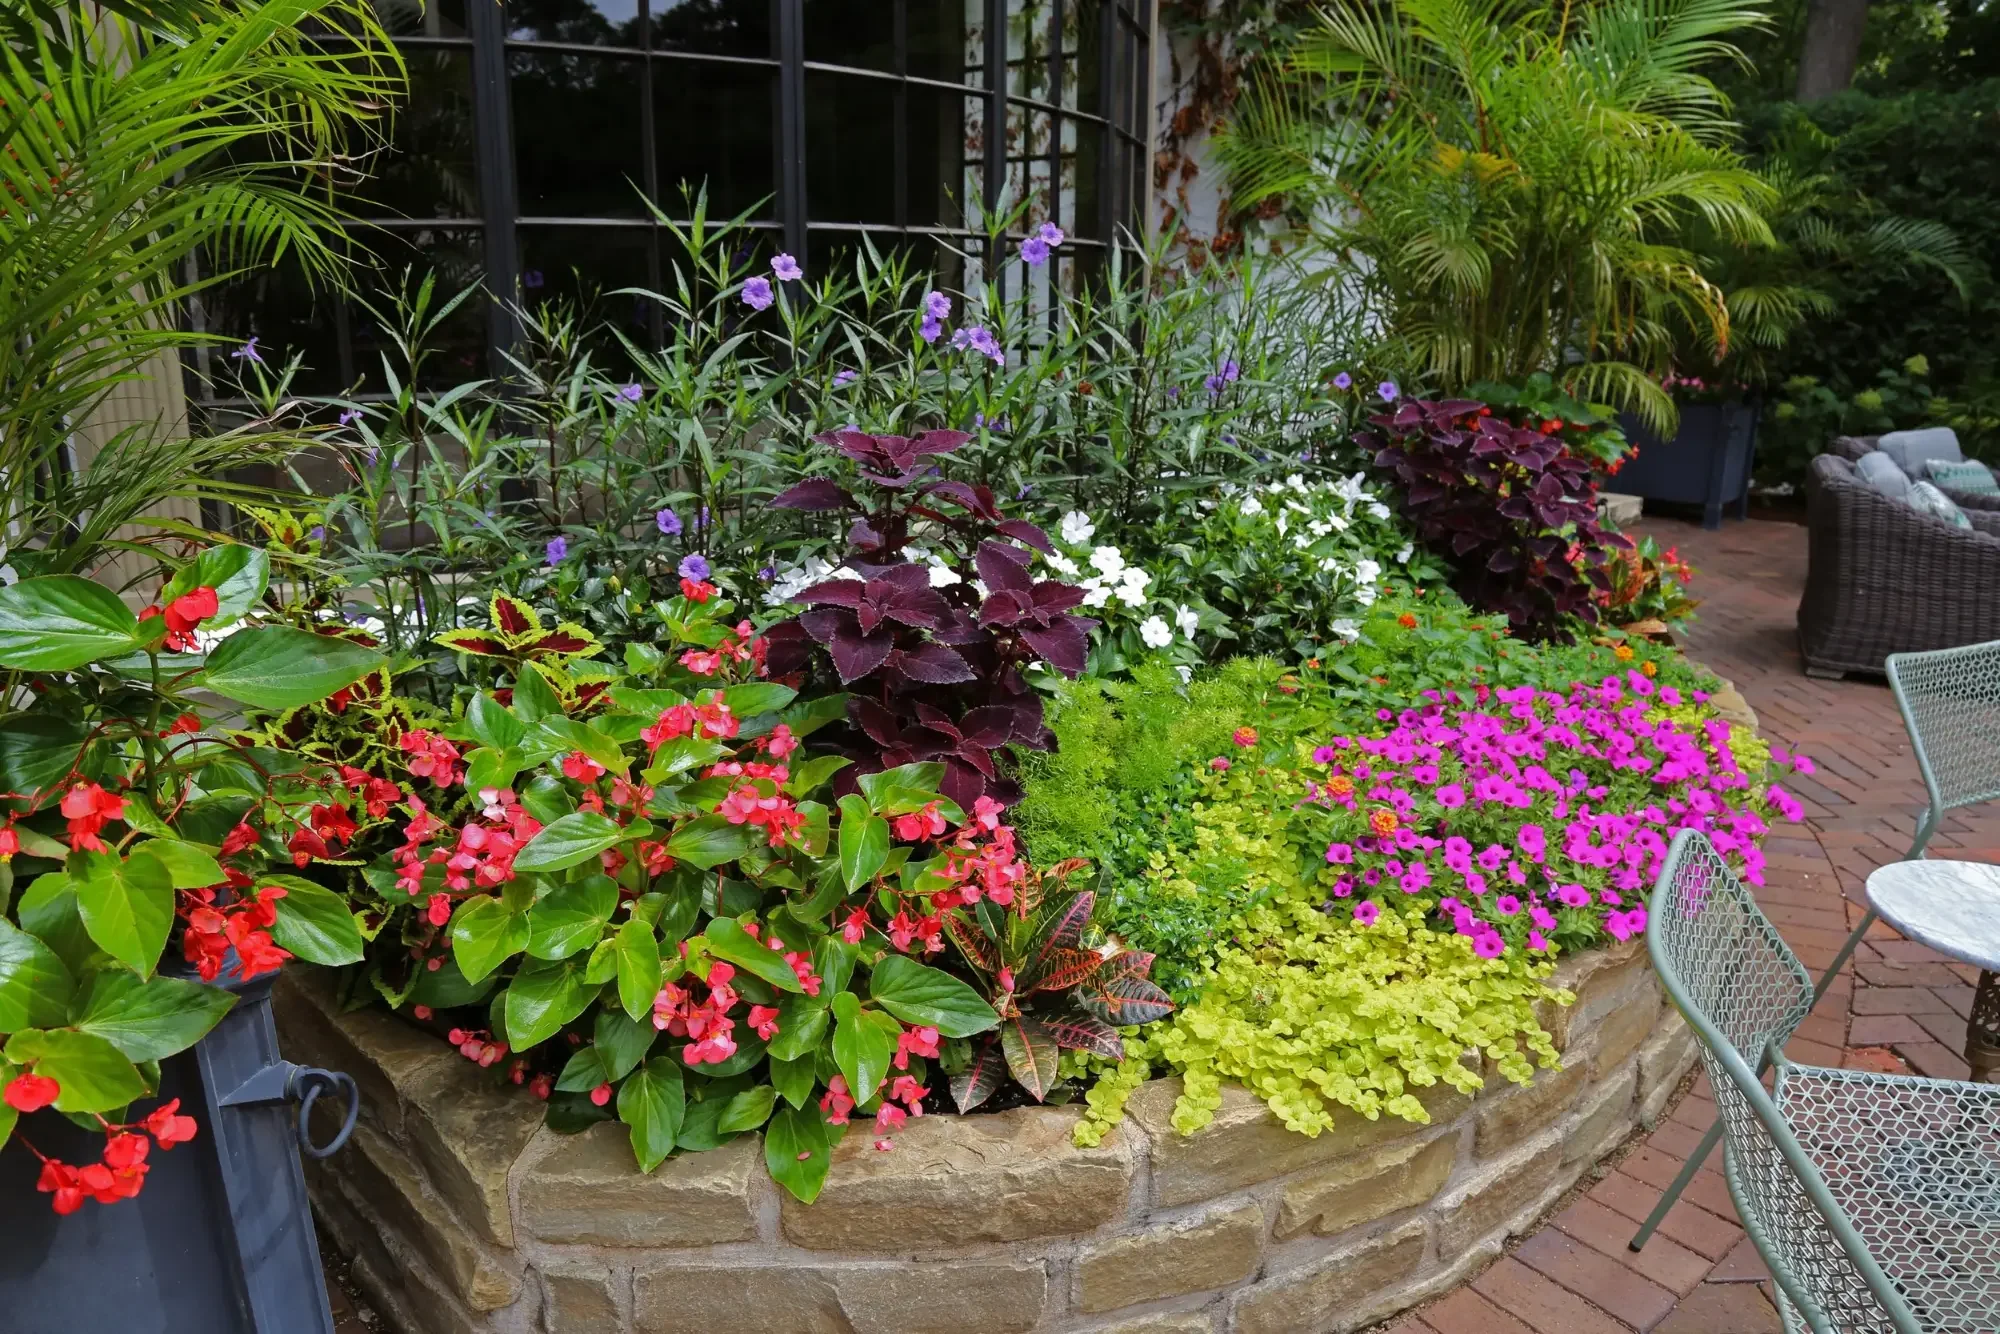
Seasonal Color
Spring, summer, and fall color programs that keep your property looking its best through every season with annuals, perennials, and container planting.
Why Homeowners Choose Green View
Ready to get started? Schedule your complimentary Landscape or Lawn Maintenance consultation today.
Schedule Consultation