menu
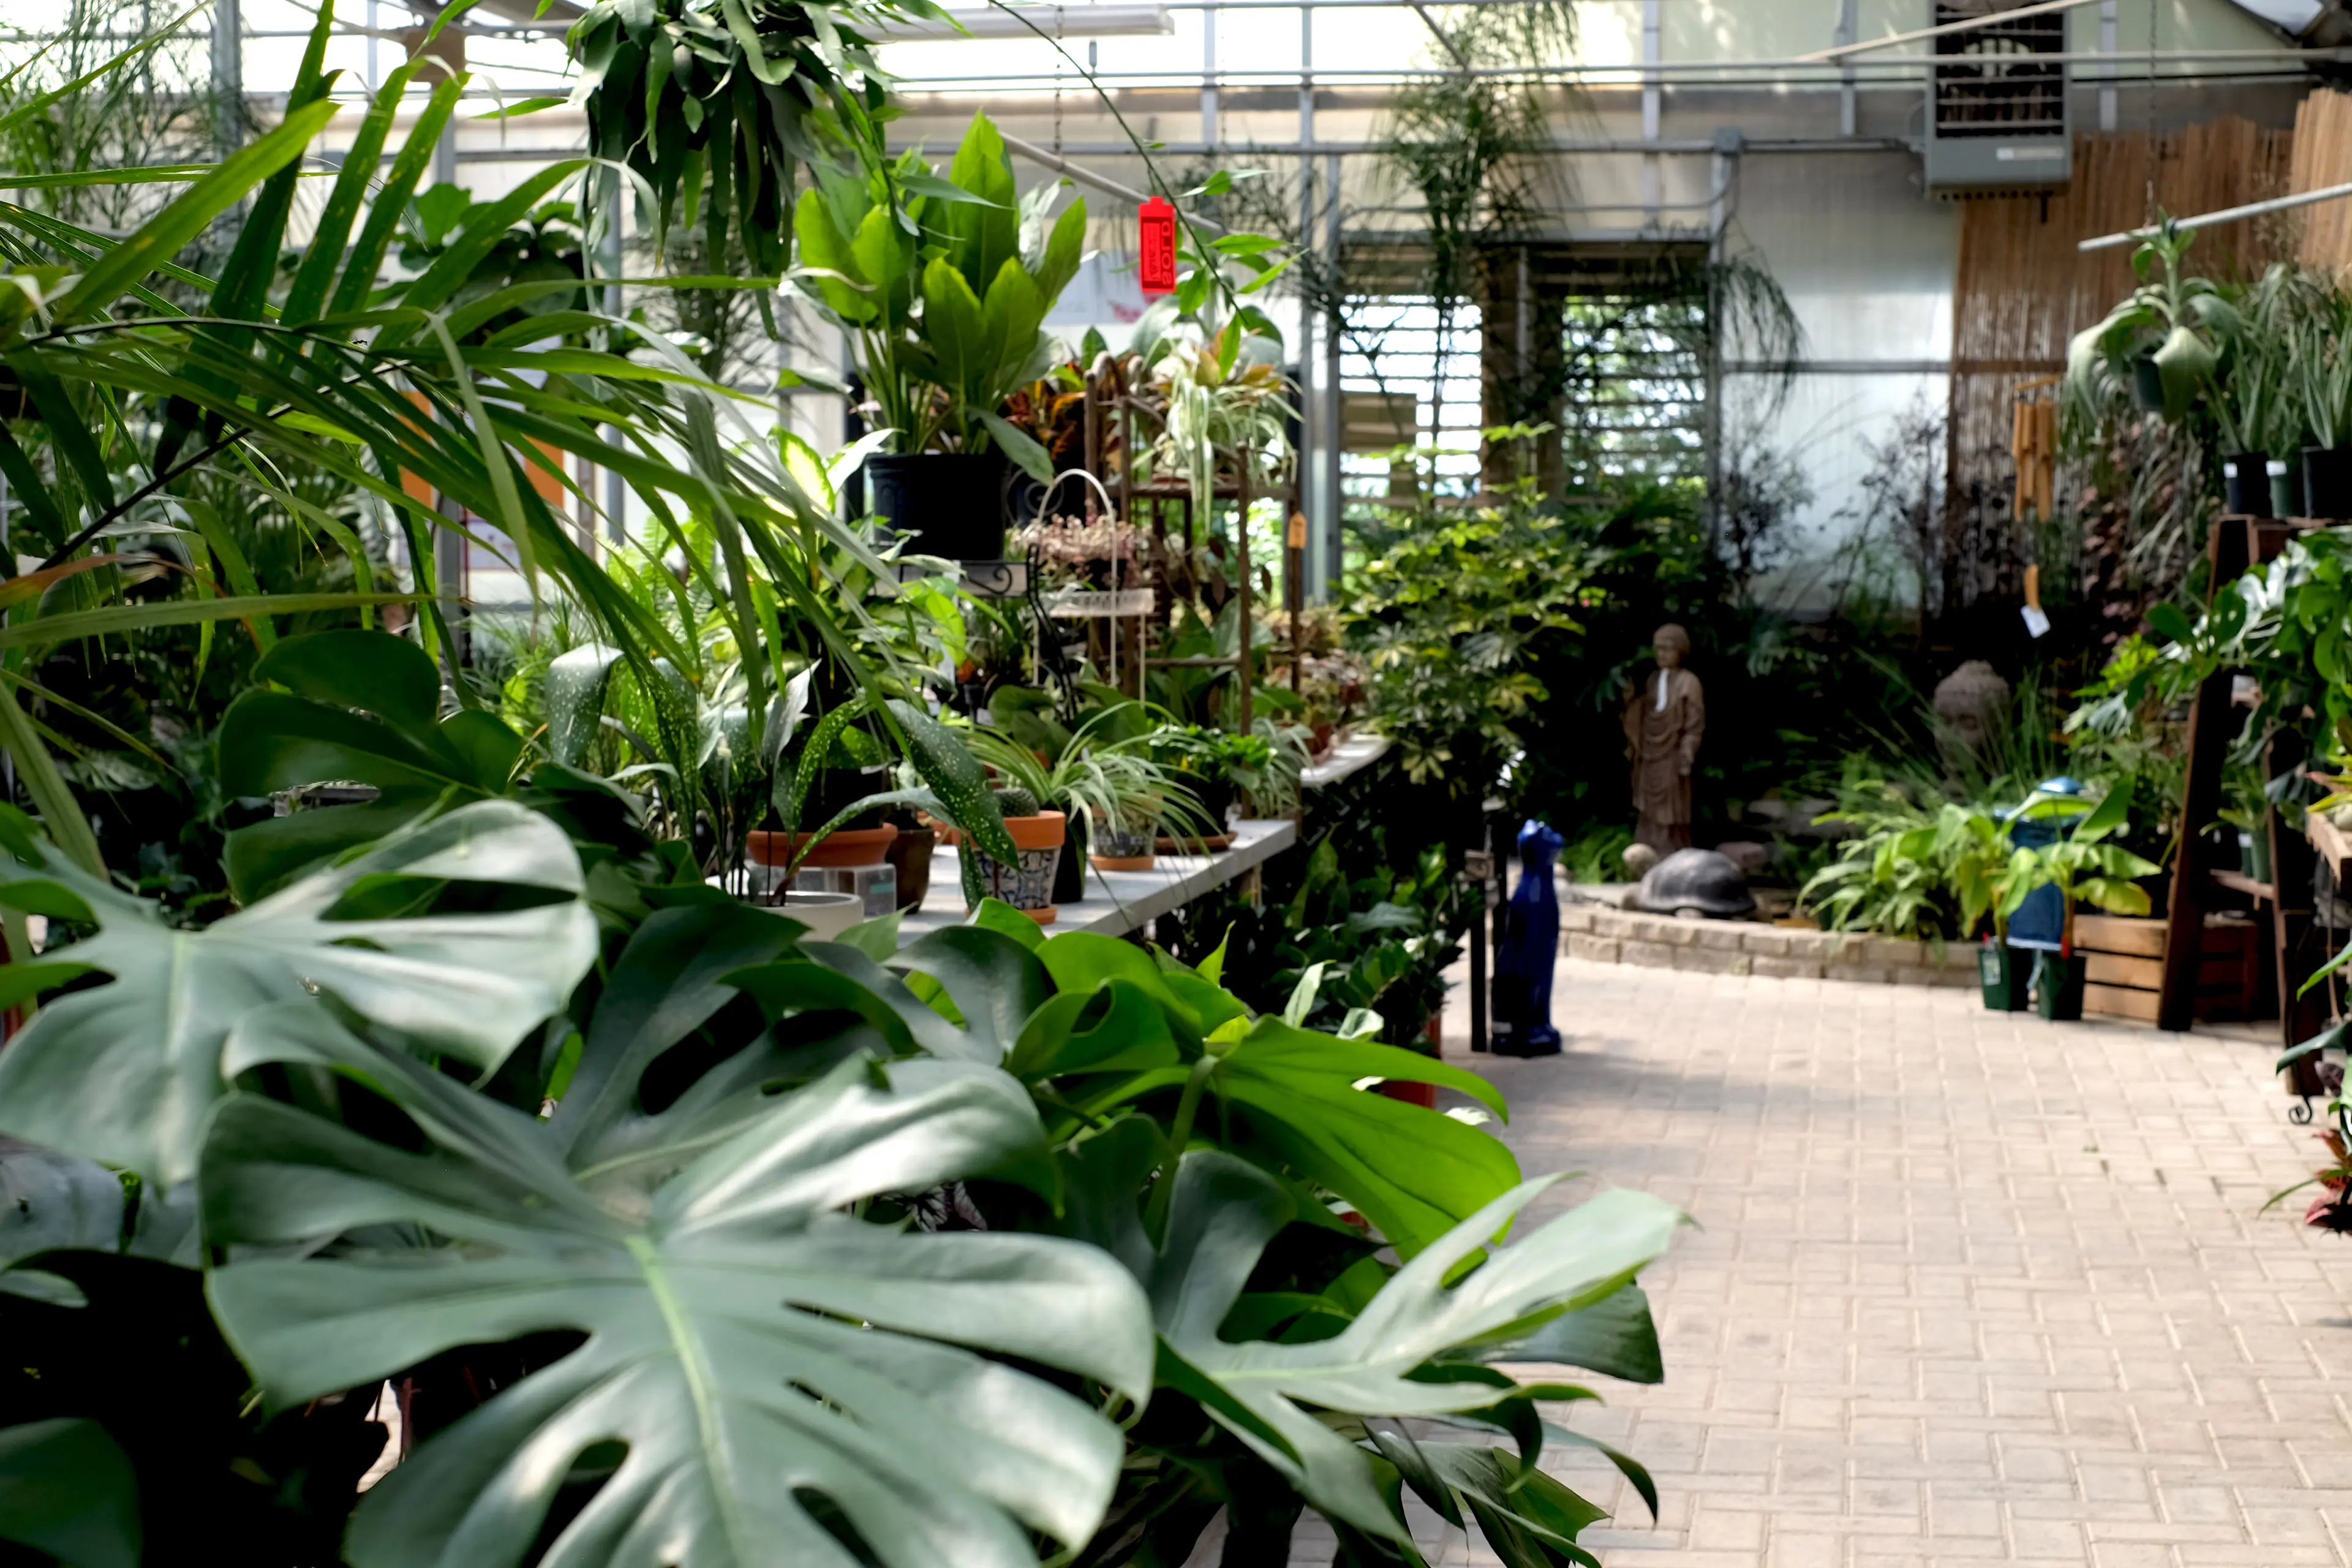
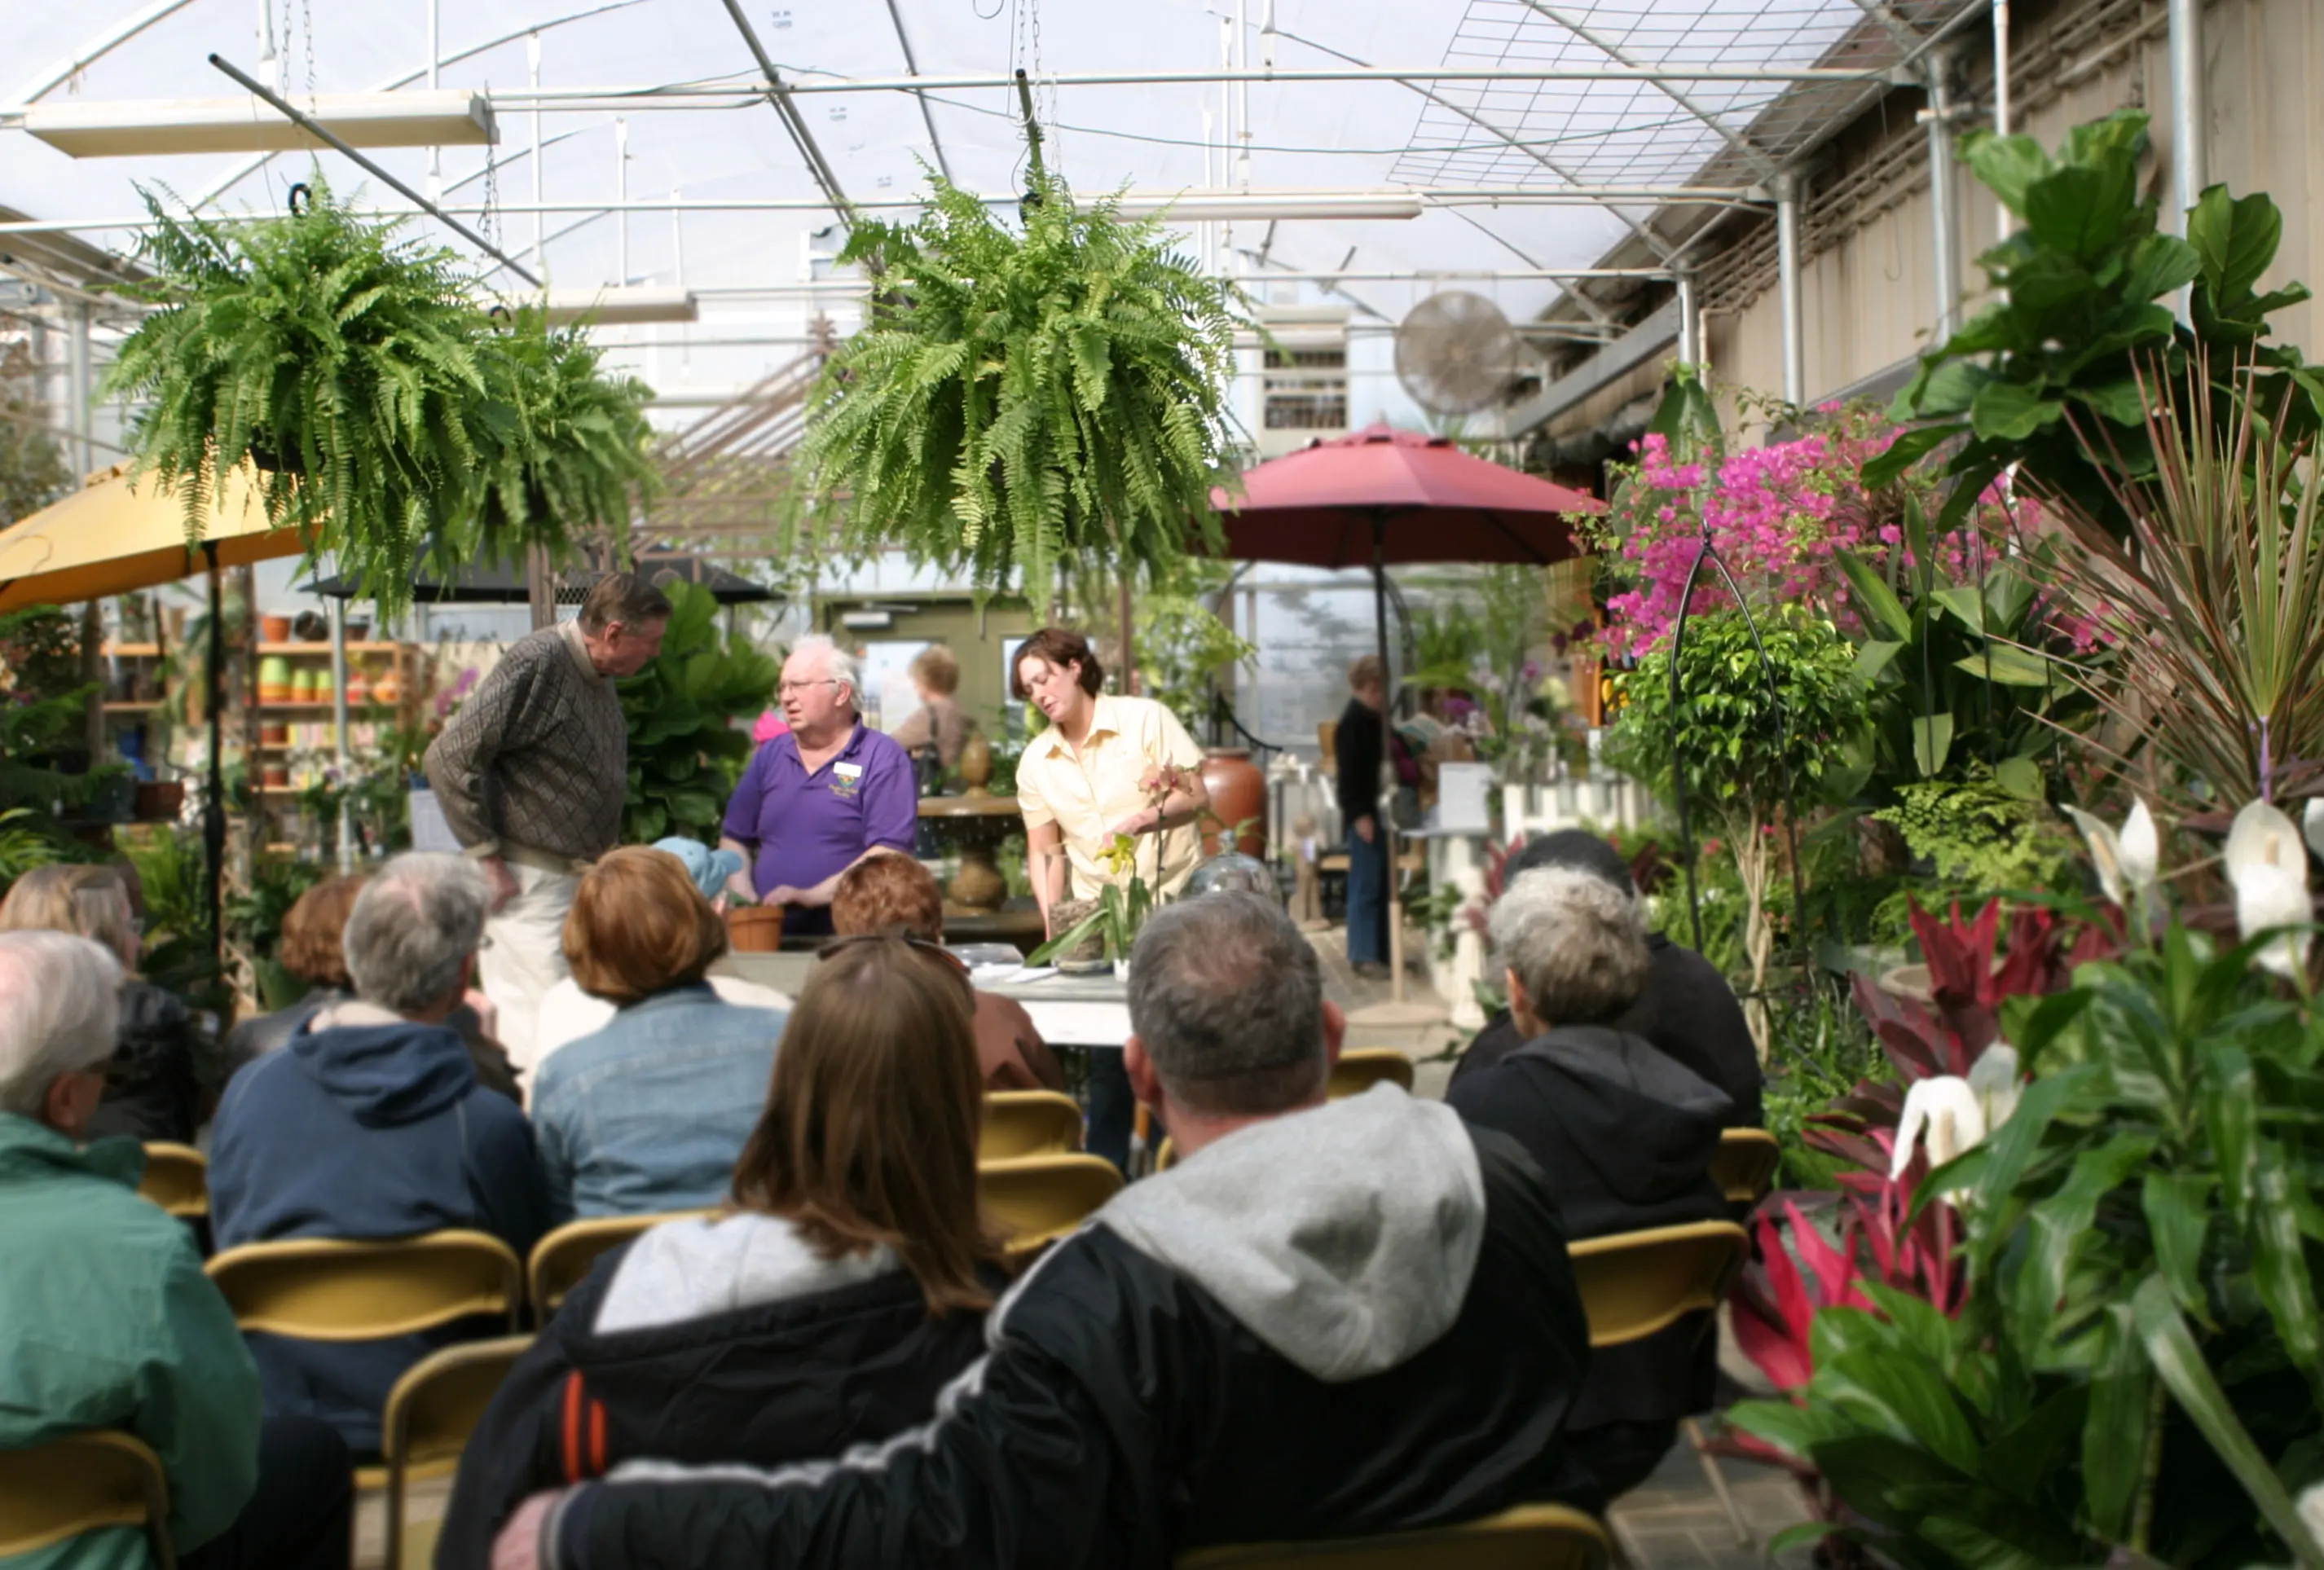

Garden Center
Planting Basics
It is very important for your new plants to receive the best possible start in your garden. Follow the detailed planting, watering, and care guidelines to ensure that your new plant gets a healthy start!
- Water your plants as soon as you get them home. Keep your plants in a shaded area and well watered until you are ready to plant.
- Dig the planting hole. Dig a hole that measures 2-3 times as wide and the same depth as the root ball of your plant.
- Prepare the soil with soil amendments or compost. Amend the soil removed from the planting hole with a soil amendment or compost. Blend about ⅓ of the amendment with ⅔ native soil. We also recommend using a good starter fertilizer or root stimulator (per package directions). Use this amended soil to backfill around the plant.
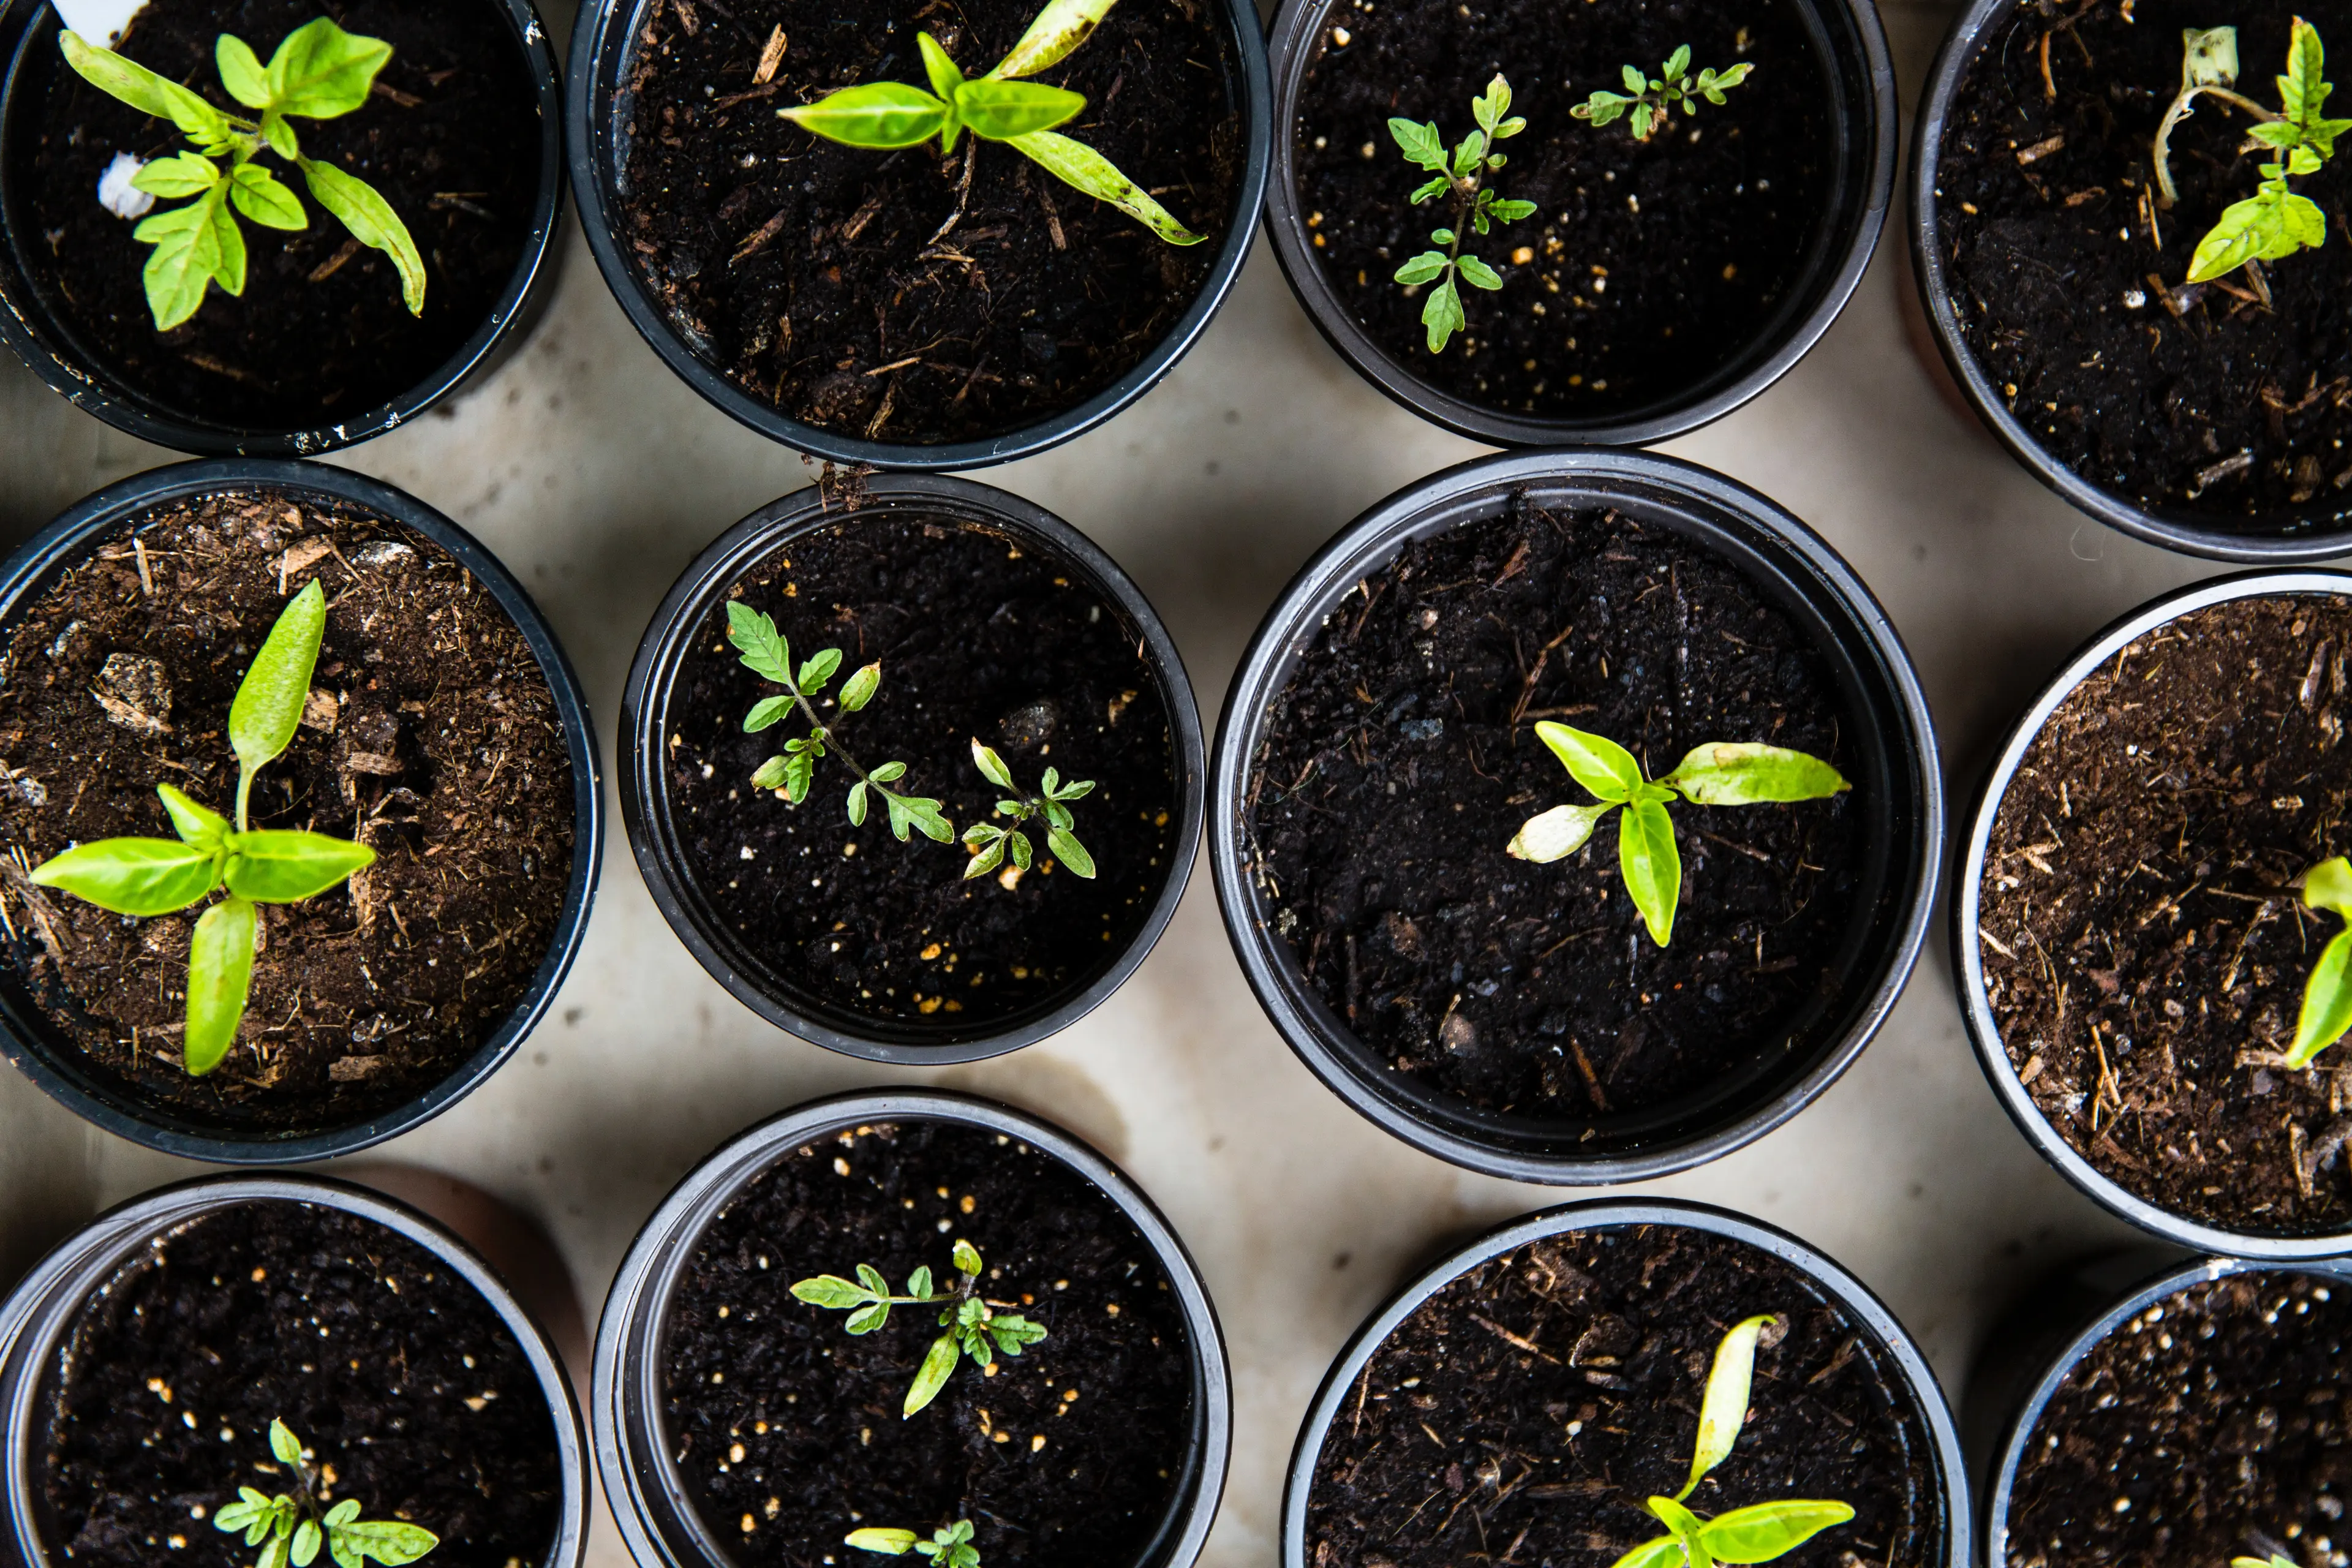
- Prepare the roots for planting. Container plants - Remove the plant from the container. Make cuts through to the plant about 2” apart running down the length of the plant (making sure the roots are not circling the plant). Encircling roots will inhibit the growth of your plant. Loosen the roots on all sides and the bottom.
- Place the plant in the planting hole. Place the root ball in the hole. The soil level in the container should be level with the soil surface. Planting too deeply will eventually kill the plant.
- Fill in with the amended soil and water thoroughly. Fill in the hole halfway using some of the amended soil mixed with the appropriate amount of fertilizer (as discussed in step 3). Water the soil to remove large air pockets and allow it to drain. Continue replacing the soil until the hole is filled to ground level.
- Add mulch. Apply 2 inches of organic mulch over the planting area. Do not mound up or place mulch against the base of the plant. Mulch will keep the roots cool and damp.